A well-designed personal trainer website offers a host of benefits. It will boost your business reputation and generate more leads when done right and used for online marketing purposes.
If you're new in the industry, have some tech skills and want to invest time rather than money in your fitness website, you can choose to do it yourself.
This article takes you through the most crucial design steps My Personal Trainer Website take to build fitness websites that represents your brand, talks to your ideal clients, and doesn't miss anything essential.
Step 1 - Choose a Domain and a Web Host
The first step of building your personal trainer website is to choose a domain name and find a hosting platform for your website. You can use the same provider for both or try and find the best for each.
Your domain will incur a yearly or 2-yearly fee depending on which option you choose. Feel free to shop around and check out pricing with multiple registrars. GoDaddy, IONOS or even Google Domains are top-rated and international providers.
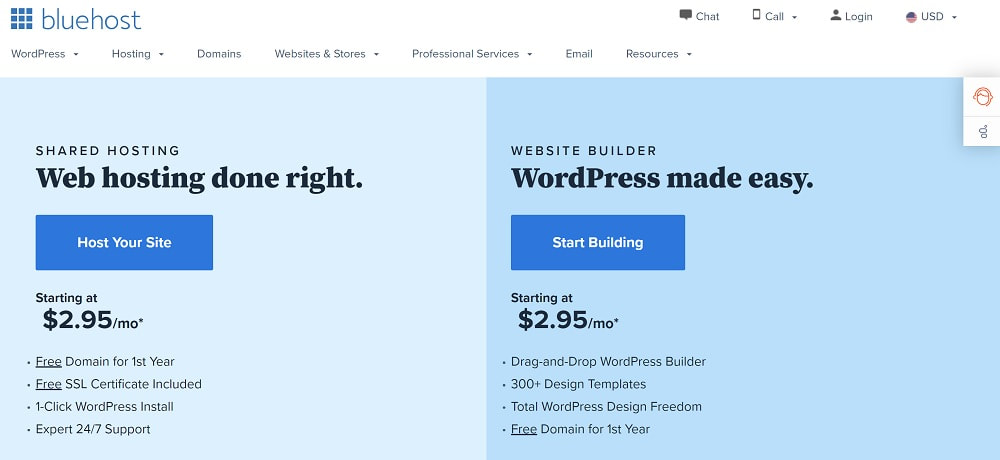
Every website will need a hosting platform for storage, security and a range of other features, like templates, widgets and apps. That's where you build and manage your fitness business website, so finding one that is easy to use for you is critical.
Every website will need a hosting platform for storage, security and a range of other features, like templates, widgets and apps. That's where you build and manage your fitness business website, so finding one that is easy to use for you is critical.
The most popular involves BlueHost and SiteGround. The above-mentioned domain registrars offer hosting services as well. You can go directly to the design platforms like WordPress, Weebly or Wix and host your website on their servers.
Step 2 - Find a Website Theme
To create a compelling and unique personal trainer website, you will need to choose a well-suited website design template. The theme should be simple and functional so that clients find it easy to navigate.
Nonetheless, it should reflect your brand's personality and unique traits. Showcasing your brand's colours throughout the website will boost your brand reputation and awareness.
Moreover, ensure that your website is stylistic and flows well. The best personal trainer websites are those that use well-balanced features. Therefore, find a theme that suits your brand and is easy for customers to use.
Step 3 - Create Your Main Pages
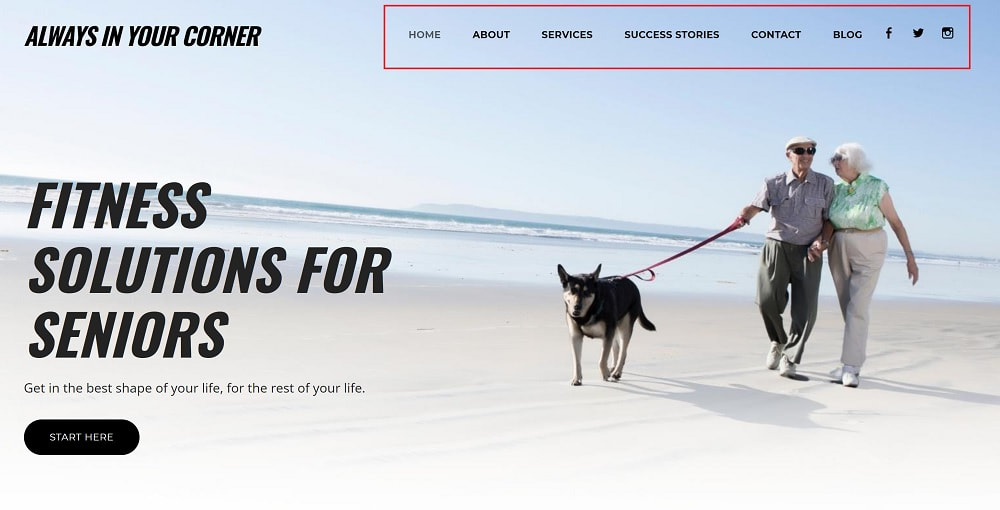
Every fitness website should have the appropriate pages people expect to find. Your website visitors will look for specific information. The standard structure of main pages includes at least the following pages.
Home page
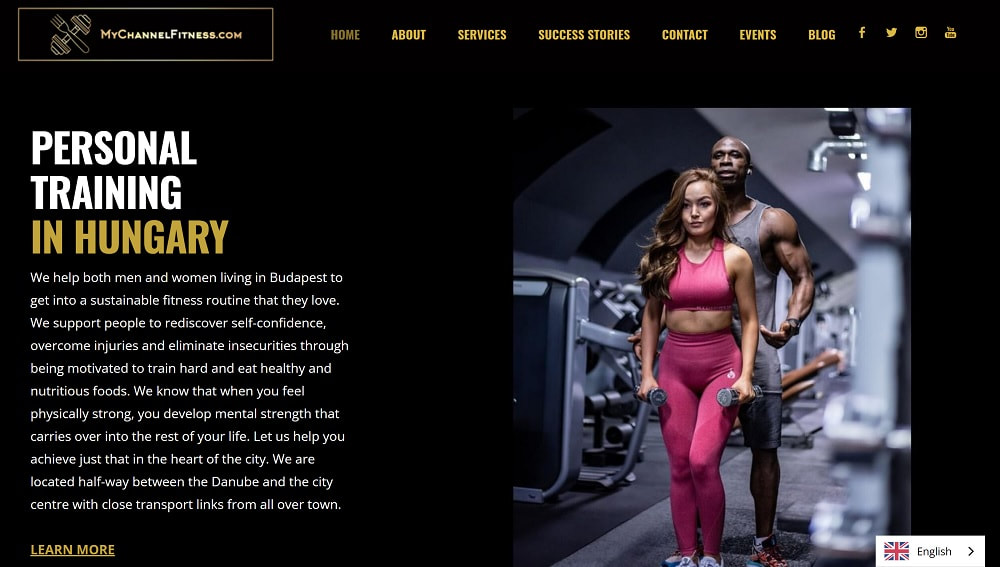
The Home page is like a shop window. Its purpose is to encourage visitors to take their next logical step and check out your services, find out more about you or get in touch.
About page
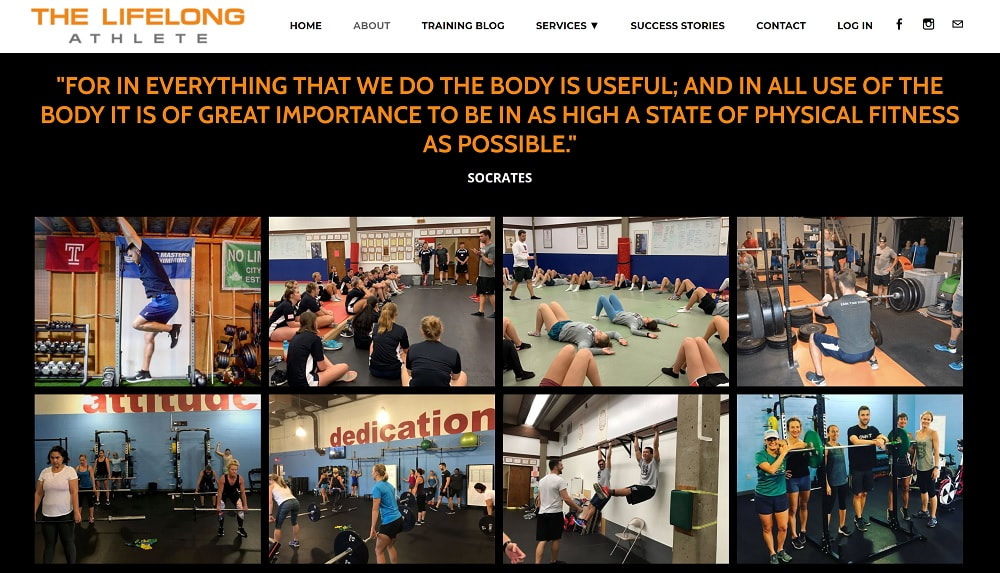
The About page is all about you and your personal training business. It will showcase your bio, your business' history, methods, awards, and anything more that sets you apart from other personal training businesses.
Services page
A page of your services is crucial as your customers will want to know more about your packages and what you can offer them. On this page, make sure to detail the prices and what's involved so that the customers know what to expect.
Contact page
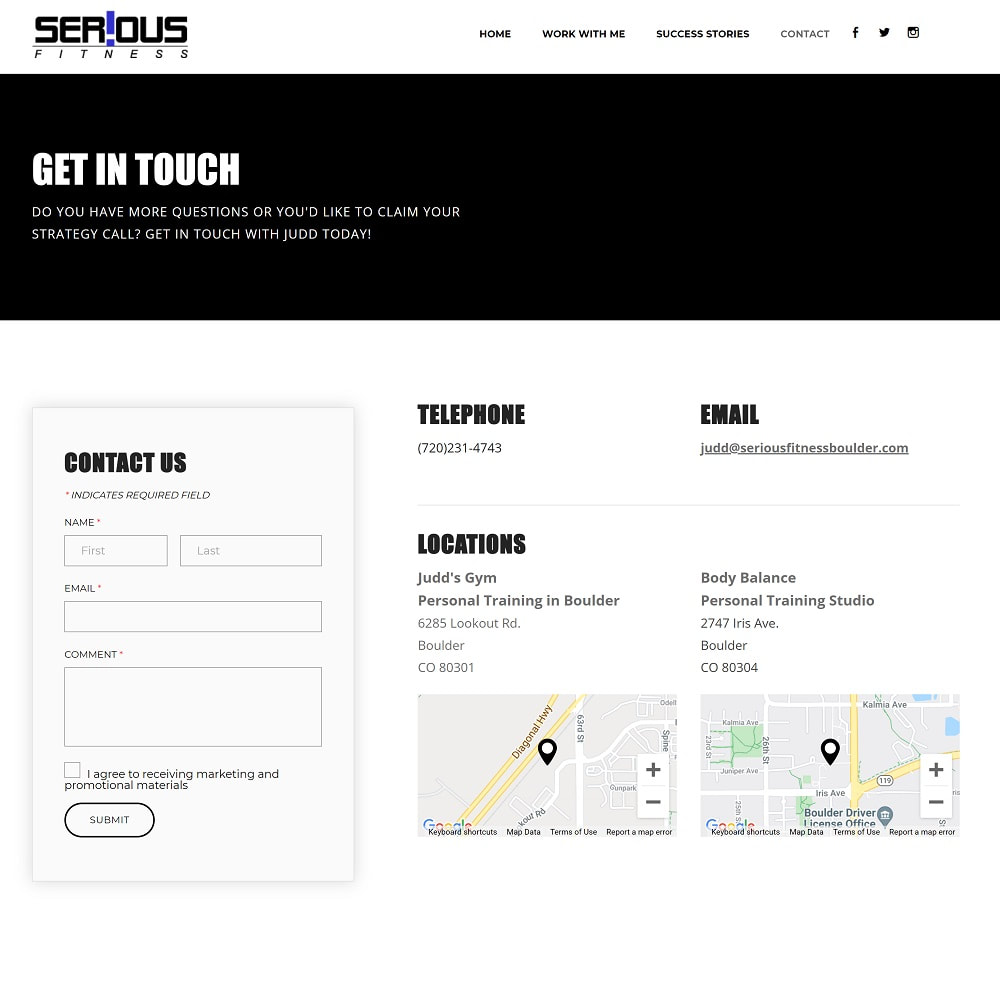
People considering your services will want to get in touch to ask questions and find out more. Having a dedicated Contact page will ensure that your potential clients find it easy to get in touch with you.
Blog page
Not every personal trainer wants to write blog articles, even though they are a fantastic tool for boosting your website's SEO ranking. However, if you know you won't be publishing, you better not have one on display. Still, if you do, the Blog page would also need to be visible on your main navigation.
Step 4 - Create the Layout
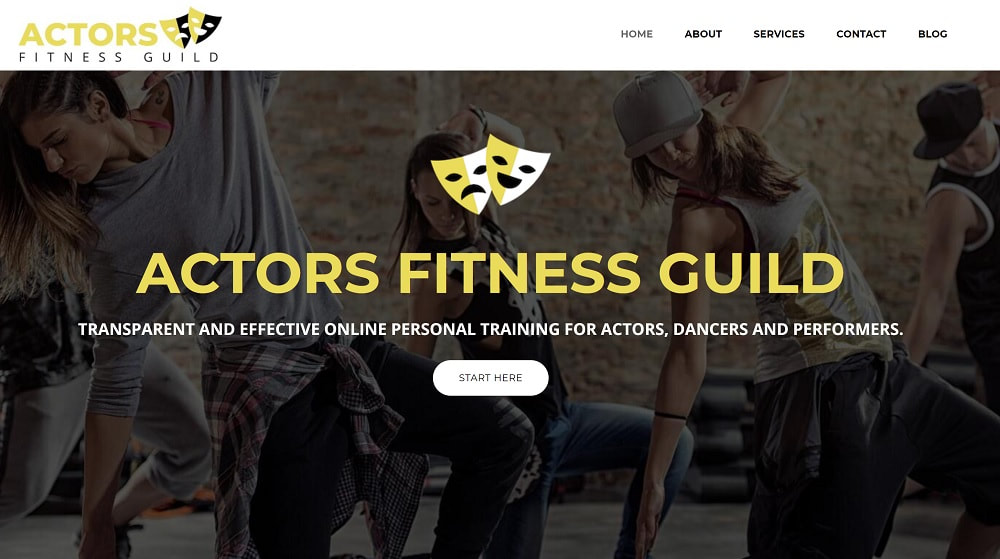
The header layout is essential because that's the first thing your website visitors see regardless of which page they land on. Installing your company logo and slogans is a good idea to represent your brand throughout the website. This will boost your brand's awareness and make your brand easy to remember.
Once you have the headers designed, you'll want to work on organizing your pages, so they are optimized for what your website visitors want to see, showcase your fitness brand, and meet the latest user experience best practices. You might want to have input from a graphic designer here or even hire one to create your logo and visuals for your website.
Step 5 - Write the Website Copy
You might want to work with a professional copywriter to nail down your voice, create a website copy that aligns with your values, brand and personality.
Again, you can do this yourself as well. Ensure you consider a couple of questions about your ideal clients, yourself and how you can relate to them, your services and logistics. Generally speaking, your copy should talk to your visitors' problems, explain how you're in the best position to help them and what you can offer to achieve that.
Again, you can do this yourself as well. Ensure you consider a couple of questions about your ideal clients, yourself and how you can relate to them, your services and logistics. Generally speaking, your copy should talk to your visitors' problems, explain how you're in the best position to help them and what you can offer to achieve that.
Step 6 - Add Photos
Once you have added your website copy, it's time to choose matching visuals to break up the text. There are a few essential elements when it comes to the visuals on your website.
You can add client transformation pictures with their consent and their case studies. You can also add photos of you training your clients so the website visitor would have an idea of what it looks like to work with you.
Adding a headshot of yourself and any other coaches working for you is also essential, so you add your face to your offers. If you can, having a professional photographer take your headshots and some action shots while training your clients is a great idea.
Adding a headshot of yourself and any other coaches working for you is also essential, so you add your face to your offers. If you can, having a professional photographer take your headshots and some action shots while training your clients is a great idea.
However, most smartphones can take pretty decent images these days, so if you have a friend or a family member with a good eye for pictures, that can do as well. You can always source high-quality stock photos temporarily and add your own when you have the chance.
Step 7 - Additional Sections and Pages
Consider adding an FAQ section to your Services page to answer some of the most frequently asked questions by prospects and new clients.
In some countries, especially in the EU, since GDPR has been introduced, adding a Terms & Conditions, Privacy Policy and Cookies Policy will be required by law. Check those rules in your country or state and ensure your website meets them.
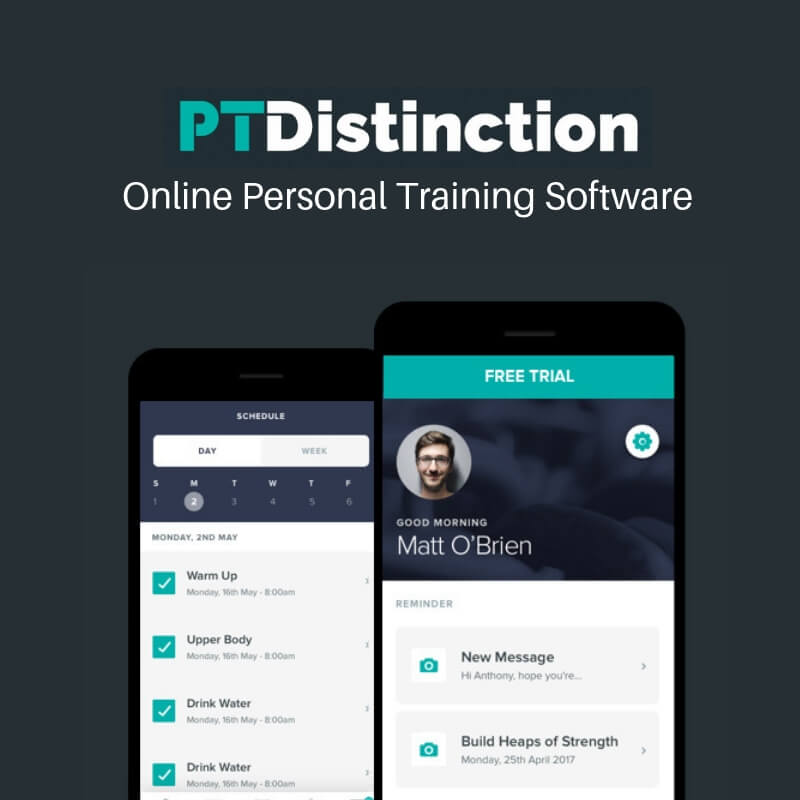
If you also offer online personal training services and want to integrate an online training software, this will be the time to sort that out.
How you set up your footer is also essential. You'll want to add links to all your main pages and other important sections like the Privacy Policy or Client Login. Adding your address here will help boost your SEO.
Step 8 - Set Up Your Contact Page
The Contact page is crucial as anybody who wants to ask a question will look for it. Think of your ideal clients and what channels they would typically prefer for getting in touch.
Some people prefer emails over calls. Others might think the other way around. Most website design platforms will offer a contact form option as well, and it's worth adding.
Another crucial detail for the contact page is your address and, where possible, a map feature. Displaying your address will serve three primary purposes:
- so that people can find where you work if you are a local trainer
- builds trust, so people will less likely think you're an internet pirate
- boosts your ranking in search engines
Step 9 - Don't Forget About SEO
Effective SEO will increase your brand's reach and ensure that more people can discover you when searching for personal trainers online.
When it comes to your website design, on-site SEO will be crucial for your main pages. This means adding SEO Titles, Descriptions and meta tags to each of these pages that use your keywords and ensuring that your website copy is SEO-optimized.
When it comes to your website design, on-site SEO will be crucial for your main pages. This means adding SEO Titles, Descriptions and meta tags to each of these pages that use your keywords and ensuring that your website copy is SEO-optimized.
Step 10 - Go Live and Launch
Going live doesn't necessarily mean that you launch at the same time. Most website design platforms will give you an option to preview your website so you can see exactly what it will look like on devices of different sizes. This way, you can also ensure that your personal trainer website is optimized for mobiles.
You can hook up your domain anytime during development, and that's what we like to call 'going live'. It means your website is on the internet. To point your domain to the server of your website host, you'll need to follow the instructions provided by your web host company and make changes to your domain's DNS records or nameservers in your domain registrar account.
But that doesn't mean people will start finding it straight away. It takes time and a lot of promotion to get traffic to your fitness website.
We talk about 'launch' when you actively start sharing your website with your audience, people in your circles, on social media and everywhere. The easiest way to do this is to publish your first article on your blog or promote a lead magnet and start building your subscriber's list.
Conclusion
As you can see, building a successful personal trainer website takes a fair amount of work, and these are only the essentials. You can also create landing pages, hidden forms for your clients to check in, PARQs and other assessments that aren't visible on the website.
We've seen many unique websites designed by personal trainers. Still, we wouldn't be in business if everybody could invest their time and learn the skills to develop a high-performing fitness website. If you need professional help, we're here to help you out. Feel free to get in touch!
We've seen many unique websites designed by personal trainers. Still, we wouldn't be in business if everybody could invest their time and learn the skills to develop a high-performing fitness website. If you need professional help, we're here to help you out. Feel free to get in touch!

