With the rise of online training, one of the solutions trainers have found is to live stream fitness classes through their fitness website. Making sure that this experience is enjoyable and productive for both the trainer and the audience will take a little planning, but it’s a convenient alternative to face to face classes.
This could be a fantastic option if your clients don’t live near a gym they can access frequently, have demanding schedules and can’t commit to face to face training but also love the accountability of real-time workouts.
1. Plan The Content Of Your Stream Before You Start
First things first, for most of us, we’re not blessed with the gift of the gab. At least - not when we first start out. That means whether that’s on your personal trainer website or your social media channels, spontaneity probably isn’t the best option when it comes to live-streaming.
Embedding your live stream on your personal trainer website doesn’t change the fact that you’re likely to do a better job if you have an outline of what you need to say before you start.
Don’t worry too much about scripting it, and reading from a teleprompter - although apps are available for this if you feel that this would make you more comfortable. It can help to have a sense of timing and some points you want to cover. For example:
There’s no right or wrong way to do this, and some people would prefer more closely planned sessions than others. But having an idea of what you want to cover and roughly by when is probably enough to start with.
Embedding your live stream on your personal trainer website doesn’t change the fact that you’re likely to do a better job if you have an outline of what you need to say before you start.
Don’t worry too much about scripting it, and reading from a teleprompter - although apps are available for this if you feel that this would make you more comfortable. It can help to have a sense of timing and some points you want to cover. For example:
- Start - 2 minutes: Welcoming viewers, introducing the movements in the workout.
- Minute 2 - 5: Demonstrating how to do the movements safely.
- Minutes 5 - 15: Warming up.
- Minutes 15-30 (or longer): Take your audience through the workout.
- Last 5-10 minutes: Cool Down and Stretch
There’s no right or wrong way to do this, and some people would prefer more closely planned sessions than others. But having an idea of what you want to cover and roughly by when is probably enough to start with.
2. Set Up Your Recording Tools
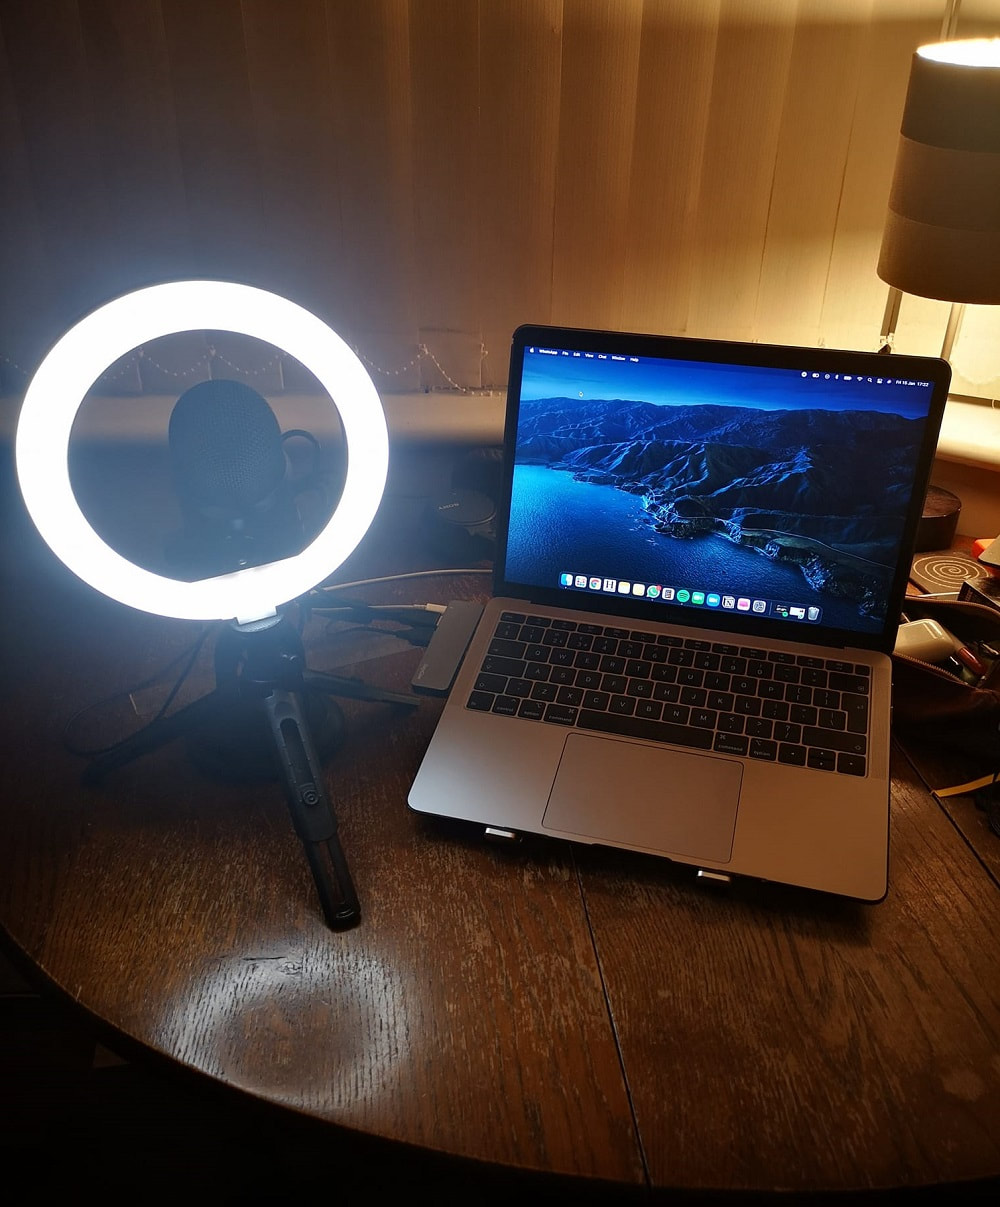
The recording tools can include any video or audio hardware you need to run the classes. In part this could refer to exercise equipment, like resistance bands, kettlebells or a yoga mat. But it would also refer to a camera, any microphones, and the computer you’ll use to transmit the stream.
Take your time learning the best settings for your equipment. It may take some practice to learn about how your camera connects with your computer, where to place any external lighting setups or how to get the best quality audio properly synced up with your video.
3. Check The Quality And Speed Of Your Internet Connection
Uploading video and audio requires not only a fast internet connection but a quality, stable connection. You’ll need at least a 5 Mbps upload speed for a decent quality stream.
While you’re streaming, shut down the programmes running in the background that you don’t absolutely need during the stream. That might include music if your computer is unable to handle it.
While you’re streaming, shut down the programmes running in the background that you don’t absolutely need during the stream. That might include music if your computer is unable to handle it.
4. Prepare For Hosting Your Stream
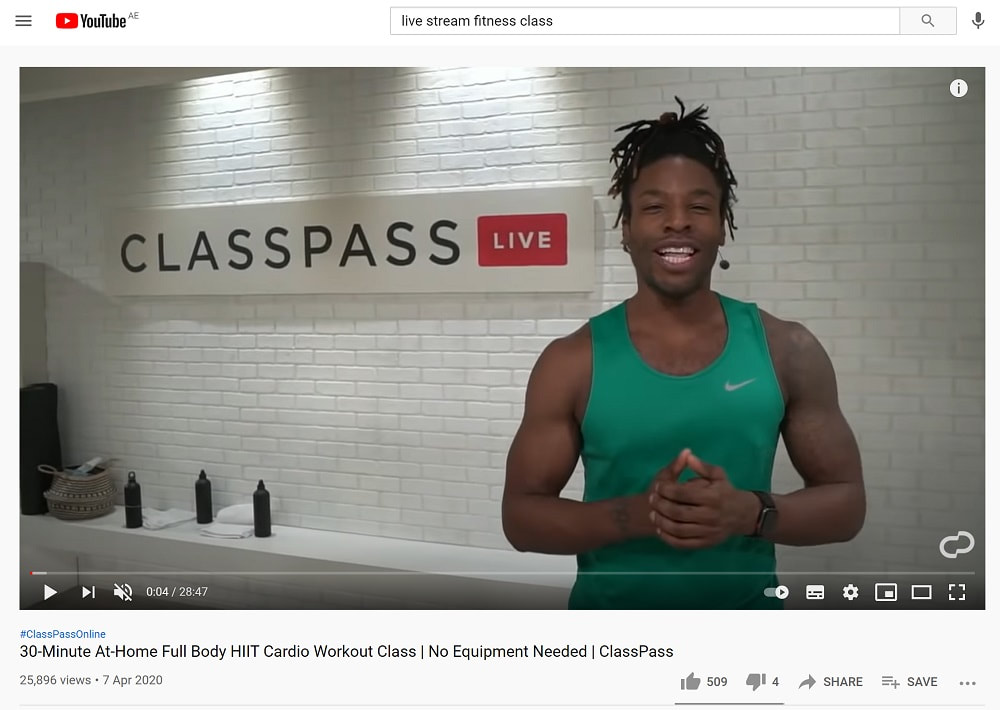
You could host your stream on Facebook, YouTube or Twitch - known streaming platforms which make streaming less demanding than hosting on your own personal trainer website. The problem with these platforms is that they’re public, and if you want to make your stream available only to a select group of your paying clients, this may be more difficult.
You could initially host the stream on these public channels, keep it available for a short period of time - say, 24 hours - and then archive the content on your personal trainer website. This could be a good solution which could act as a lead magnet to funnel people from your social media accounts and lets them know that more of these resources are available at your website.
You could initially host the stream on these public channels, keep it available for a short period of time - say, 24 hours - and then archive the content on your personal trainer website. This could be a good solution which could act as a lead magnet to funnel people from your social media accounts and lets them know that more of these resources are available at your website.
Another advantage of using video hosting that’s not on your website is that video takes up a lot of space on the servers and you may not have the storage available on your website to accommodate a huge library of long, live-streamed content. Using a free YouTube channel that you’ve set to “private” could be a cost-effective alternative.
5. Embed The Live Stream Onto Your Personal Trainer Website
Embedding isn’t really difficult, but it usually takes a bit of searching around in the website’s code to figure out how to make the hosting platform link to your website properly. How straightforward it is to find the embed code really depends on where the video is hosted. On YouTube, for example, it’s very easy and the embed code is included with the other social sharing buttons. On Facebook Live, it’s more difficult to find.
Once you have the code, this can be embedded anywhere on your personal trainer website. You may prefer to put the content into a vault in a members-only section of your website so that only your paying clients can access it.
As with so many things in managing a personal trainer website, it’s usually best to test what’s most effective for your audience and tweak based on actual usage data.
Summing Up
Most people are aware that their personal trainer website should include written content in the form of high quality, regularly published articles in their blog. But most personal trainers aren’t making the use of video content that they could be.
With the option to host your video live or pre-recorded on another platform, and simply embed it onto your fitness website, there’s no need to have impractical and potentially expensive video content on your own website servers.
If you want to host live, streamed in real-time video content on your site, software like Restream or StreamYard can create that embed code, as well as stream your video across a number of other video platforms, including social media.
Running fitness classes live and showing them on your fitness website as a lead magnet, or even as a part of your membership service is a fantastic way to provide remote, real-time coaching to your clients.

