Creating a fitness website is one thing, but creating a fitness website that actually makes money is a different story altogether.
Whether you sell fitness products, you offer online training plans, or you create nutrition plans for clients, you will want to make sure your website is established to bring in real sales and real results.
With that being said, continue reading to discover how you can build a personal trainer website that actually makes money.
Step 1. Identify Your Niche
The first thing you need to do is decide what fitness products or services you are selling, and who you are selling to. In other words, what is your niche? Check out this visual by Freelancermap to learn how you can find your niche if you haven;t go one yet.
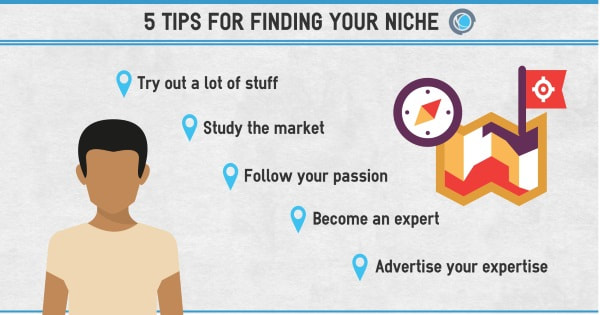
Some personal trainers want to target those preparing for bodybuilding competitions, others are looking for clients desperate to lose weight. You don't necessarily need a super specific niche when working with clients in person, however if you want to distinguish yourself from the competitions, it's worth writing your website copy to a specific audience.
Step 2. Buy a Domain for Your Fitness Website
Next, you need to decide on the right domain name for your fitness website. There are hundreds of different domain registrars. Some of the most popular include GoDaddy, IONOS, Bluehost, HostGator, Namecheap, and Domain.com.

Prior to making a purchase, make sure the domain name is easy to memorize and spell, unique, and short. It should also hint at the fitness services you provide. If you're a local personal trainer, you might also want to have your location in the domain name if it makes sense.
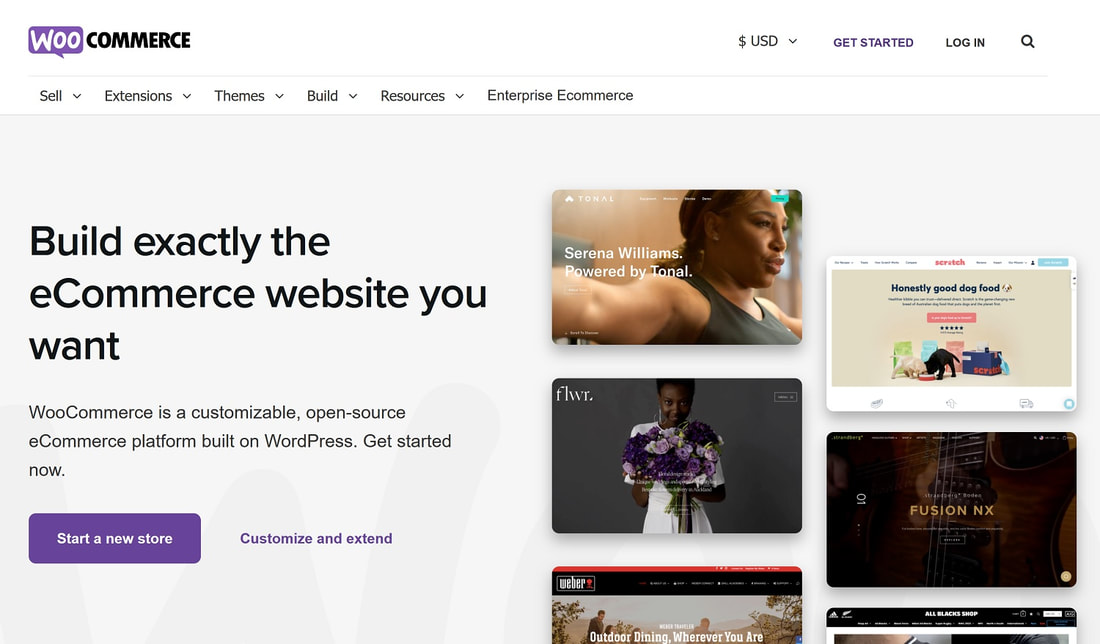
Step 3. Select a Platform
If you decide to create your website yourself, many platforms can help you to design a fitness website without building it from scratch. You have everything from Wix and Squarespace to WooCommerce and Shopify.
When choosing a fitness website design platform, you need to think about your audience, the features you want to add to your website, how you are going to monetize it, and the level of experience you have.
When choosing a fitness website design platform, you need to think about your audience, the features you want to add to your website, how you are going to monetize it, and the level of experience you have.
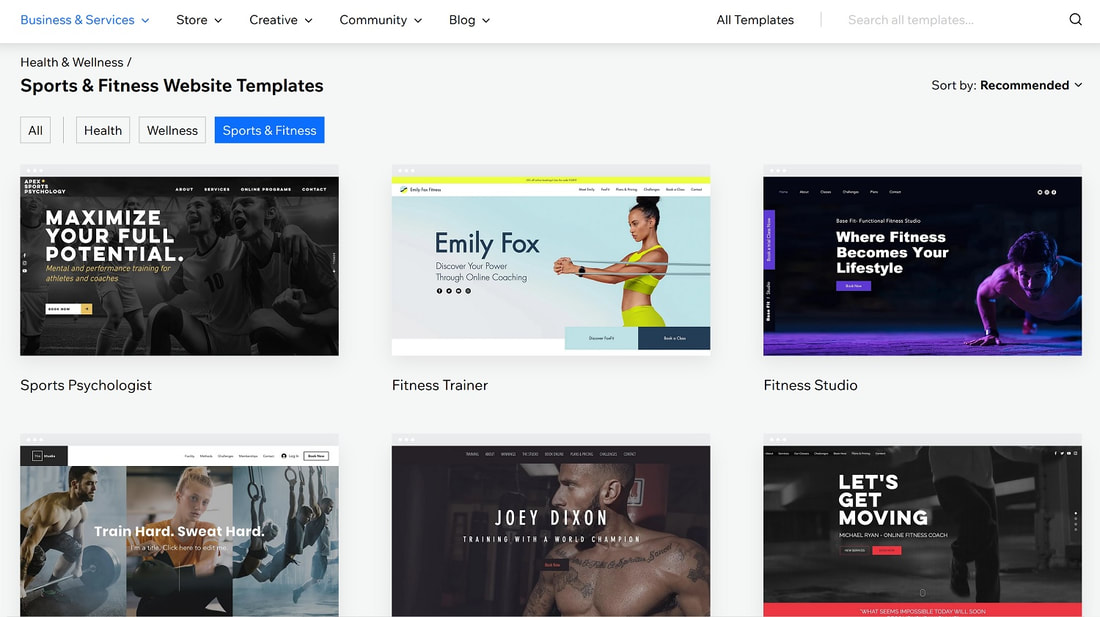
Step 4. Choose a Suitable Theme
It is critical to select a website theme that meets the goals and needs of your business, as well as your brand identity.
It is important to select a theme that makes it easy for people to navigate your website. It is also imperative that people can search for your fitness services with ease.
Look for templates that have been designed with fitness services in mind. Wix has a pretty great selection in the fitness & sports category.
Don’t forget about the mobile experience as well. Most people use smartphones today, so you will need a website that is optimized for mobile use as well.
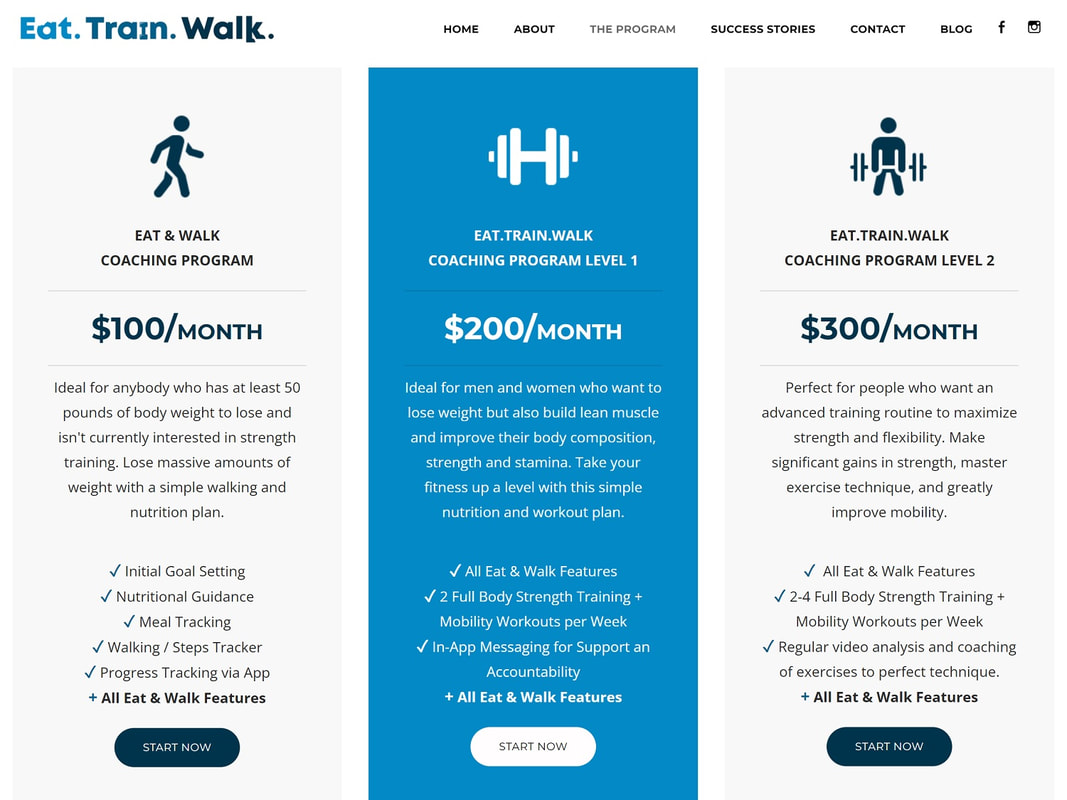
Step 5. Add Your Fitness Services and Products
Displaying your fitness services with your ideal clients in mind is crucial. Ensure your landing page provides them with all the information they need to make a decision on whether or not your service is for them.
Both too little info or the lack of pricing and too much info can result in higher bounce rate. Give them just enough so they want to take their next logical step and learn more or book a consultation.
Both too little info or the lack of pricing and too much info can result in higher bounce rate. Give them just enough so they want to take their next logical step and learn more or book a consultation.
If you want to sell products, the approach will need to be different. Begin by adding every product individually. You will need to determine a category for each, as well as adding a title, image, and description. If you categorize your fitness products, it makes it a lot easier for website users to sort and browse them.
You can then provide some added information for every service and/or product, for example, CTA (call-to-action) buttons, customer reviews, shipping (if applicable), and pricing. The extra elements depend on the sort of products or services you are selling on your fitness website.
You can then provide some added information for every service and/or product, for example, CTA (call-to-action) buttons, customer reviews, shipping (if applicable), and pricing. The extra elements depend on the sort of products or services you are selling on your fitness website.
Step 6. Create a Checkout Funnel
Next, you need to make sure there is an effective way for people to purchase fitness services or products via your website. This is called a “checkout funnel” and it incorporates three critical steps: a shopping cart, a checkout page, and the confirmation page.
The shopping cart is where people will add the products they intend to buy. The checkout page is where they input their personal information and payment data. Finally, the confirmation page shows customers that their purchase has been successful. It should display an order number so that the person’s order can be found with ease whenever needed.
A checkout funnel for a service might look a lot different, though, and might include an additional step where you speak to the prospective client before they buy. Even if not, you will likely need to integrate a personal training software or a membership feature to automate the on-boarding process for an online coaching client, so they know what to expect once they made their purchase.
Step 7. Add Your Key Pages
There are a number of essential pages you need to have when creating a fitness website. This includes a contact page, FAQ page or section, shipping page (if you sell physical fitness products), a returns and exchanges page (if you sell physical fitness products), terms and conditions, and an about page.
These pages are all critical when it comes to helping prospective clients to understand your experience in the fitness industry and the services that you provide. They are critical in terms of gaining trust and confidence.
Don’t try to be cute here. It’s about providing people with exactly what they expect when landing on a personal trainer website.
Don’t try to be cute here. It’s about providing people with exactly what they expect when landing on a personal trainer website.
Step 8. Add a Blog to Your Fitness Website
Adding a blog to your fitness website is a good idea because it can help to attract new visitors while also showing that you are an expert in your field.
When adding a blog, think about creating content that solves problems for your target audience. What sort of issues is your audience facing?
Create content that is unique, interesting, insightful, and answers the questions people really want to know.
When adding a blog, think about creating content that solves problems for your target audience. What sort of issues is your audience facing?
- Do they want to know what to order when having a takeaway and trying to lose weight?
- Do they want to know how to shift extra pounds once giving birth?
- Do they want to know how to train safely for their first marathon?
Create content that is unique, interesting, insightful, and answers the questions people really want to know.
Step 9. Integrate Additional Tools
Last but not least, installing add-ons is a great way of boosting the functionality of your fitness website. The likes of WooCommerce, Wix, and Shopify have a whole host of different extensions you can install as and when needed.
From adding videos and images to integrating with a client management system, the possibilities are endless. Of course, you should not simply add widgets and add-ons for the sake of it. Think about the purpose of each add-on you consider and if your ideal clients need it, go ahead!
From adding videos and images to integrating with a client management system, the possibilities are endless. Of course, you should not simply add widgets and add-ons for the sake of it. Think about the purpose of each add-on you consider and if your ideal clients need it, go ahead!
When Your Fitness Website Works for You
As you can see, there are a number of steps you can take to bring in money from your fitness website. From adding a blog to choosing a domain with care, follow the steps above to create a fitness website that actually makes money.